
Step 5: Combine the wet and dry
Gradually add the dry mixture to the wet mixture, stirring gently until just combined. Be careful not to overmix — the batter should be thick but smooth.
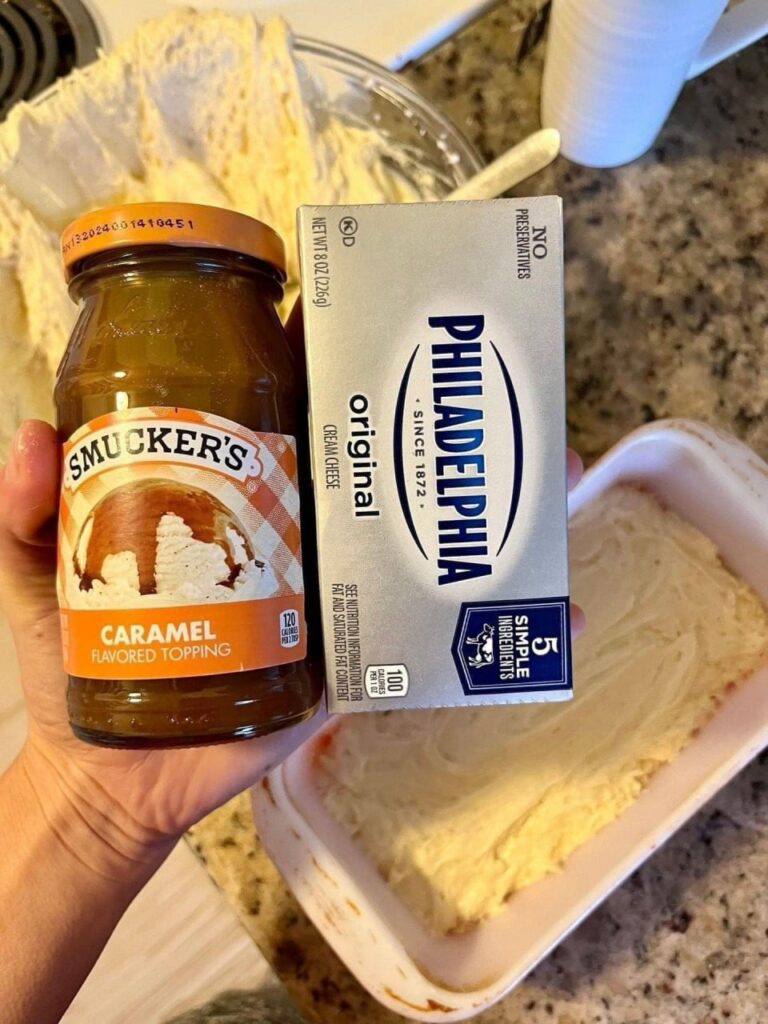
Step 6: Layer with caramel
Divide about ¼ of the batter between the two prepared pans. Drizzle about ¼ cup of caramel topping over each, then use a butter knife to gently swirl it into the batter. Top with the remaining batter, dividing it evenly between both pans. If you want extra indulgence, drizzle a little more caramel on top and swirl lightly again.
Step 7: Bake
Place the pans in the oven and bake for 45–50 minutes, or until a toothpick inserted in the center comes out clean. If the tops start browning too quickly, loosely cover with foil for the last 10 minutes.
Step 8: Cool and serve
Let the loaves cool in their pans for 10 minutes before transferring them to a wire rack to cool completely. Slice thick pieces, serve with a hot cup of coffee or tea, and enjoy the rich swirl of cream cheese and caramel in every bite.
Tips & Variations
-
- Make it festive: Add ½ cup of chopped pecans or walnuts for crunch.
- Caramel upgrade: Use homemade caramel sauce for a deeper, buttery flavor.
- Storage: Wrap cooled loaves tightly in plastic wrap or foil. They’ll keep at room temperature for 3 days, refrigerated for up to a week, or frozen (well-wrapped) for 2 months.
- Serving idea: Warm slices slightly in the microwave and top with a scoop of vanilla ice cream for a dessert-style treat.
Why This Bread Is My Go-To
Every fall, I try new recipes, but few make it into my year-round rotation. This one did. It’s indulgent enough to feel special for the holidays yet simple enough to whip up on a random weekend. The combination of caramel and cream cheese gives it that wow factor without needing fancy ingredients.
Bake it once, and I promise — you’ll be making it again long after the leaves have fallen.
