
Repurposing old cabinet doors into chalkboards is a creative and sustainable way to add functionality and charm to your home. This DIY project not only gives new life to discarded materials but also provides a versatile piece that can be used for notes, reminders, or even as a decorative element. Whether you’re looking to add a personal touch to your kitchen, office, or entryway, this project is both practical and stylish.
This repurposed cabinet door chalkboard can be styled in various ways to complement your interior design. In a rustic or farmhouse-themed kitchen, it can serve as a menu board or a place to jot down grocery lists. For a modern minimalist office, it can be used as a sleek and functional message board. Consider adding hooks or a small shelf at the bottom for keys or chalk storage, enhancing both its utility and aesthetic appeal.
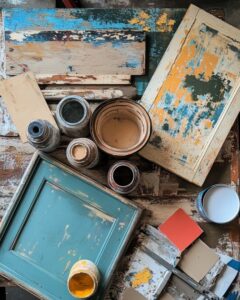
repurposed cabinet door chalkboard
Materials
-
Old cabinet door (size depends on available space)
-
Chalkboard paint (enough to cover the door surface)
-
Sandpaper (medium and fine grit)
-
Painter’s tape
-
Paintbrush or foam roller
-
Ruler or measuring tape
-
Chalk
-
Optional: hooks or small shelf for additional functionality
Directions
-
Start by cleaning the cabinet door thoroughly to remove any dirt or grease.
-
Use medium-grit sandpaper to sand the surface of the door, focusing on any rough areas or old paint. Follow up with fine-grit sandpaper for a smooth finish.
-
Once sanded, wipe the door with a damp cloth to remove any dust.
-
Use painter’s tape to mask off any areas you don’t want to paint, such as the edges or any decorative trim.
-
Apply the chalkboard paint using a paintbrush or foam roller. Follow the manufacturer’s instructions for the number of coats and drying time.
-
Allow the paint to dry completely. Once dry, condition the chalkboard surface by rubbing a piece of chalk over the entire area and then wiping it off with a dry cloth.
-
Remove the painter’s tape carefully.
-
Optional: Attach hooks or a small shelf to the bottom of the door for added functionality.
-
Mount the finished chalkboard on the wall using appropriate hardware.
