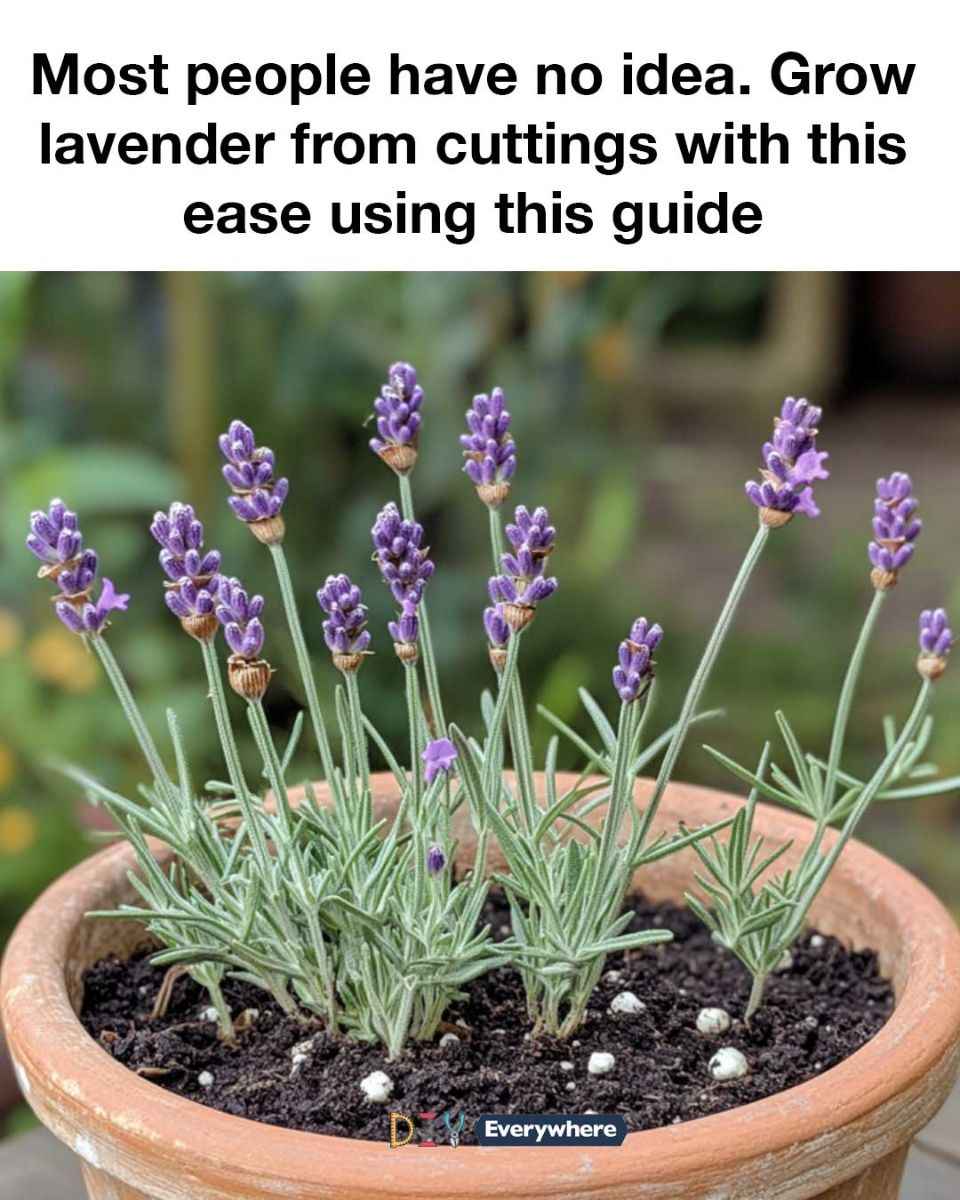
-
Use sterilized shears to cut just below a leaf node.
-
Strip lower leaves, leaving top 2–3 intact.
-
Dip the base in rooting hormone and shake off excess.
-
Prepare potting mix and lightly moisten it.
-
Use a pencil to make a hole and gently insert the cutting.
-
Firm the soil gently around the stem.
Space cuttings 2 inches apart in trays to promote airflow.
7. 🌡️ Ideal Conditions for Rooting
-
Temperature: ~70°F (21°C)
-
Light: Bright, indirect sunlight
-
Humidity: Cover with a plastic dome or bag to retain moisture
-
Moisture: Mist daily but do not overwater
Avoid direct sun exposure and soggy soil — both can ruin the process.
8. 🪴 Aftercare: From Cutting to Young Plant
-
Check for Roots: After 2–4 weeks, gently tug — resistance = roots
-
Transplanting: Once rooted, move to larger pots or directly to garden
-
Watering: Let the soil dry slightly between waterings
-
Sunlight: Full sun once transplanted
Lavender doesn’t like “wet feet” — always ensure drainage is excellent.
9. 🛠 Troubleshooting Common Issues
| Problem | Cause | Solution |
|---|---|---|
| Yellowing leaves | Overwatering | Let soil dry out slightly |
| Wilting | Underwatering or heat stress | Adjust watering; provide shade |
| Mold or rot | Poor air circulation/humidity | Space cuttings and ventilate |
| No rooting | Wrong cutting type or conditions | Try semi-hardwood; adjust light |
🌾 Final Thoughts
Growing lavender from cuttings is simple, sustainable, and surprisingly satisfying. Whether you’re creating a pollinator-friendly garden or harvesting your own lavender for soaps and teas, propagation from cuttings gives you full control over the outcome.
With a little patience and care, you’ll soon have rows of aromatic lavender blooming — all from just a few snips of a mother plant.
